
Skip to main content
Get Started
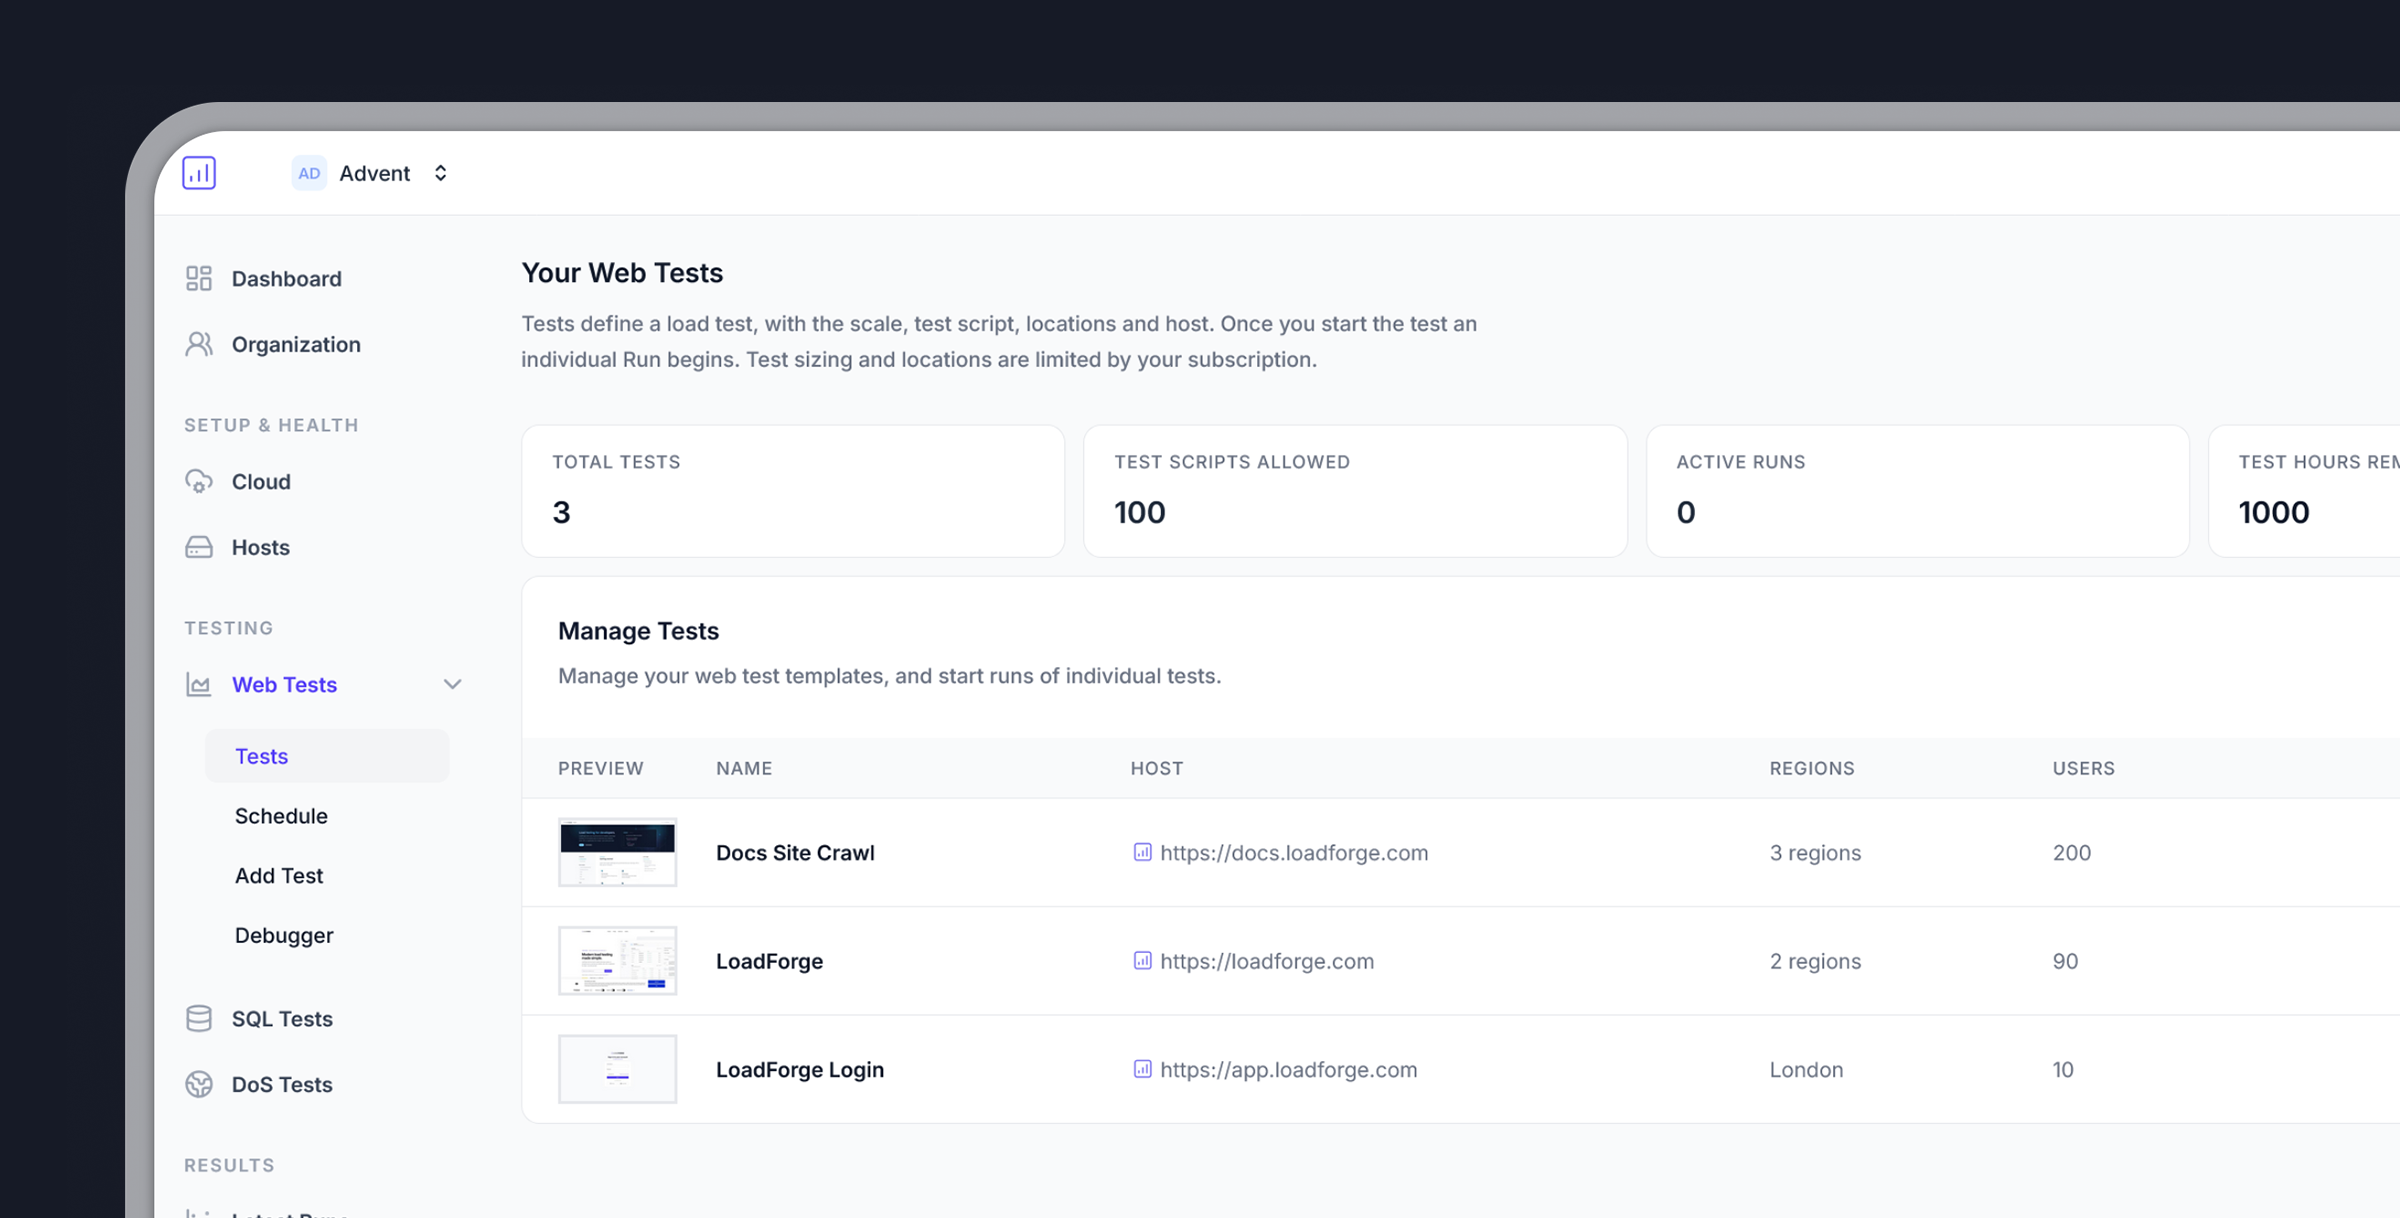
Quickstart - Run Your First Load Test in 5 Minutes
Get started with LoadForge load testing in under 5 minutes. Verify your host, create a test script, and analyze performance results.
Conducting your initial load test with LoadForge is both quick and straightforward. The default test setup is often sufficient for many users aiming to understand their website’s scalability and pinpoint the first areas of failure.
Getting Started in 3 Simple Steps
Step 1: Verify Your Host
Step 1: Verify Your Host
To ensure responsible use of LoadForge and prevent potential misuse like DoS attacks, you must verify website ownership:
- Add Your Host: Input your website’s URL
- Choose a Verification Method:
- DNS verification
- Meta tag insertion
- File upload
Step 2: Create Your Test
Step 2: Create Your Test
Once your host is verified, you’re ready to create a load test:
- Select Your Test File: For beginners, use the default test file
- Determine User Count: Start with 100 virtual users
- Choose Test Location: Select a server location close to your target audience
Default Test Script
Need More Advanced Testing?
- Browse test examples in our documentation
- Record your browser activities using the
.harformat - Use our test creation wizard for guided setup
Step 3: Run Your Test
Step 3: Run Your Test
Execute your test and analyze the results:
- Start the Test: Click the
Runbutton next to your test - Set Test Duration: For first tests, keep it brief (5 minutes)
- Monitor Real-time: Watch performance metrics as they happen
What’s Next?
After your first test completes, explore these resources:Analyzing Results
Learn how to interpret your test results and identify optimization opportunities
Advanced Testing
Create custom test scenarios to simulate real-world user behavior
Don't have an account yet?
Sign up for free and start load testing your application today.