🐰 New: Triage — a self-updating cross-repository queue that prioritizes pull requests by value and risk, so you always know what to review next. Now in beta! Explore Triage →
Automatically generate plans when specific labels are added to issues.
Using configuration file
Using the Web Interface
issue_enrichment:
  planning:
    enabled: true
    auto_planning:
      enabled: true
      labels:
        - "plan-me" # Auto-plan issues with this label
        - "feature" # Also auto-plan these
        - "!no-plan" # Never auto-plan issues with this label
To configure auto-planning labels in the CodeRabbit web app:
Navigate to Configuration → Issue Enrichment → Auto-Planning
Enable Automatic Planning
Add your desired labels in the labels field:
Enter labels that should trigger auto-planning (e.g., plan-me, feature)
Use the ! prefix for exclusion labels (e.g., !no-plan)
Save your configuration
The web interface provides the same functionality as the YAML configuration, allowing you to manage auto-planning labels without committing configuration files to your repository.
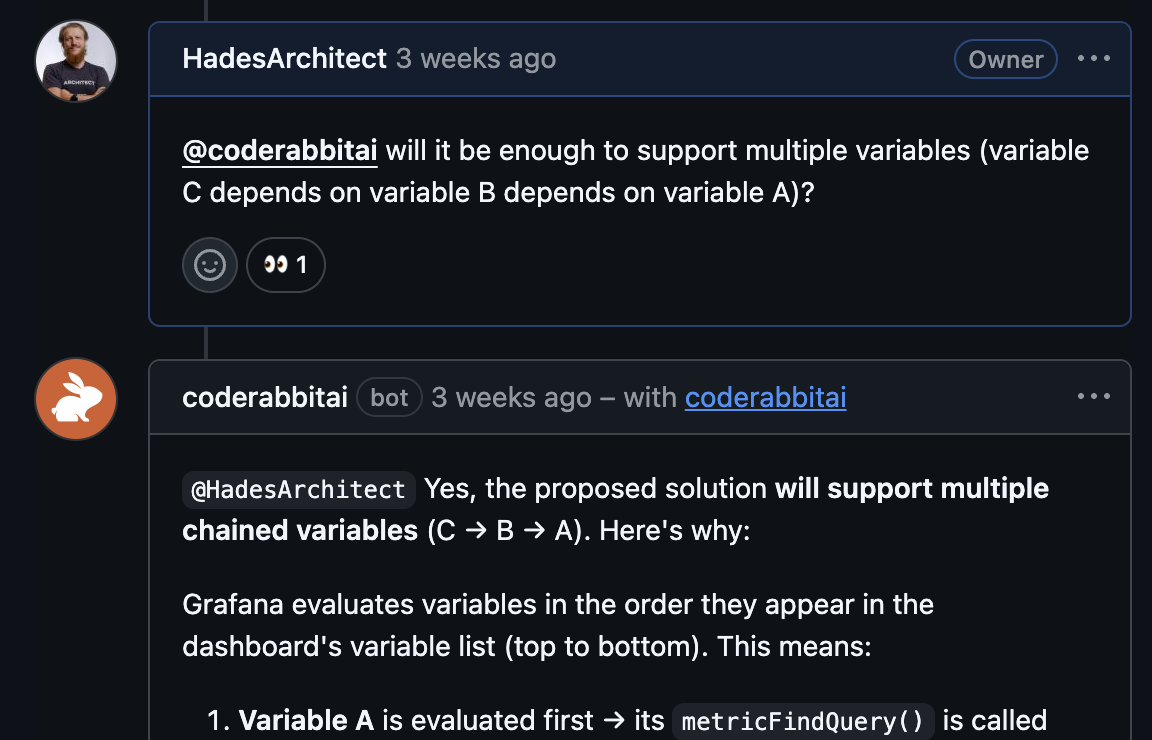
Once asked to make changes, CodeRabbit will respond to your comment and update the plan accordingly. You can also comment @coderabbitai plan again on the issue to regenerate the plan from scratch.
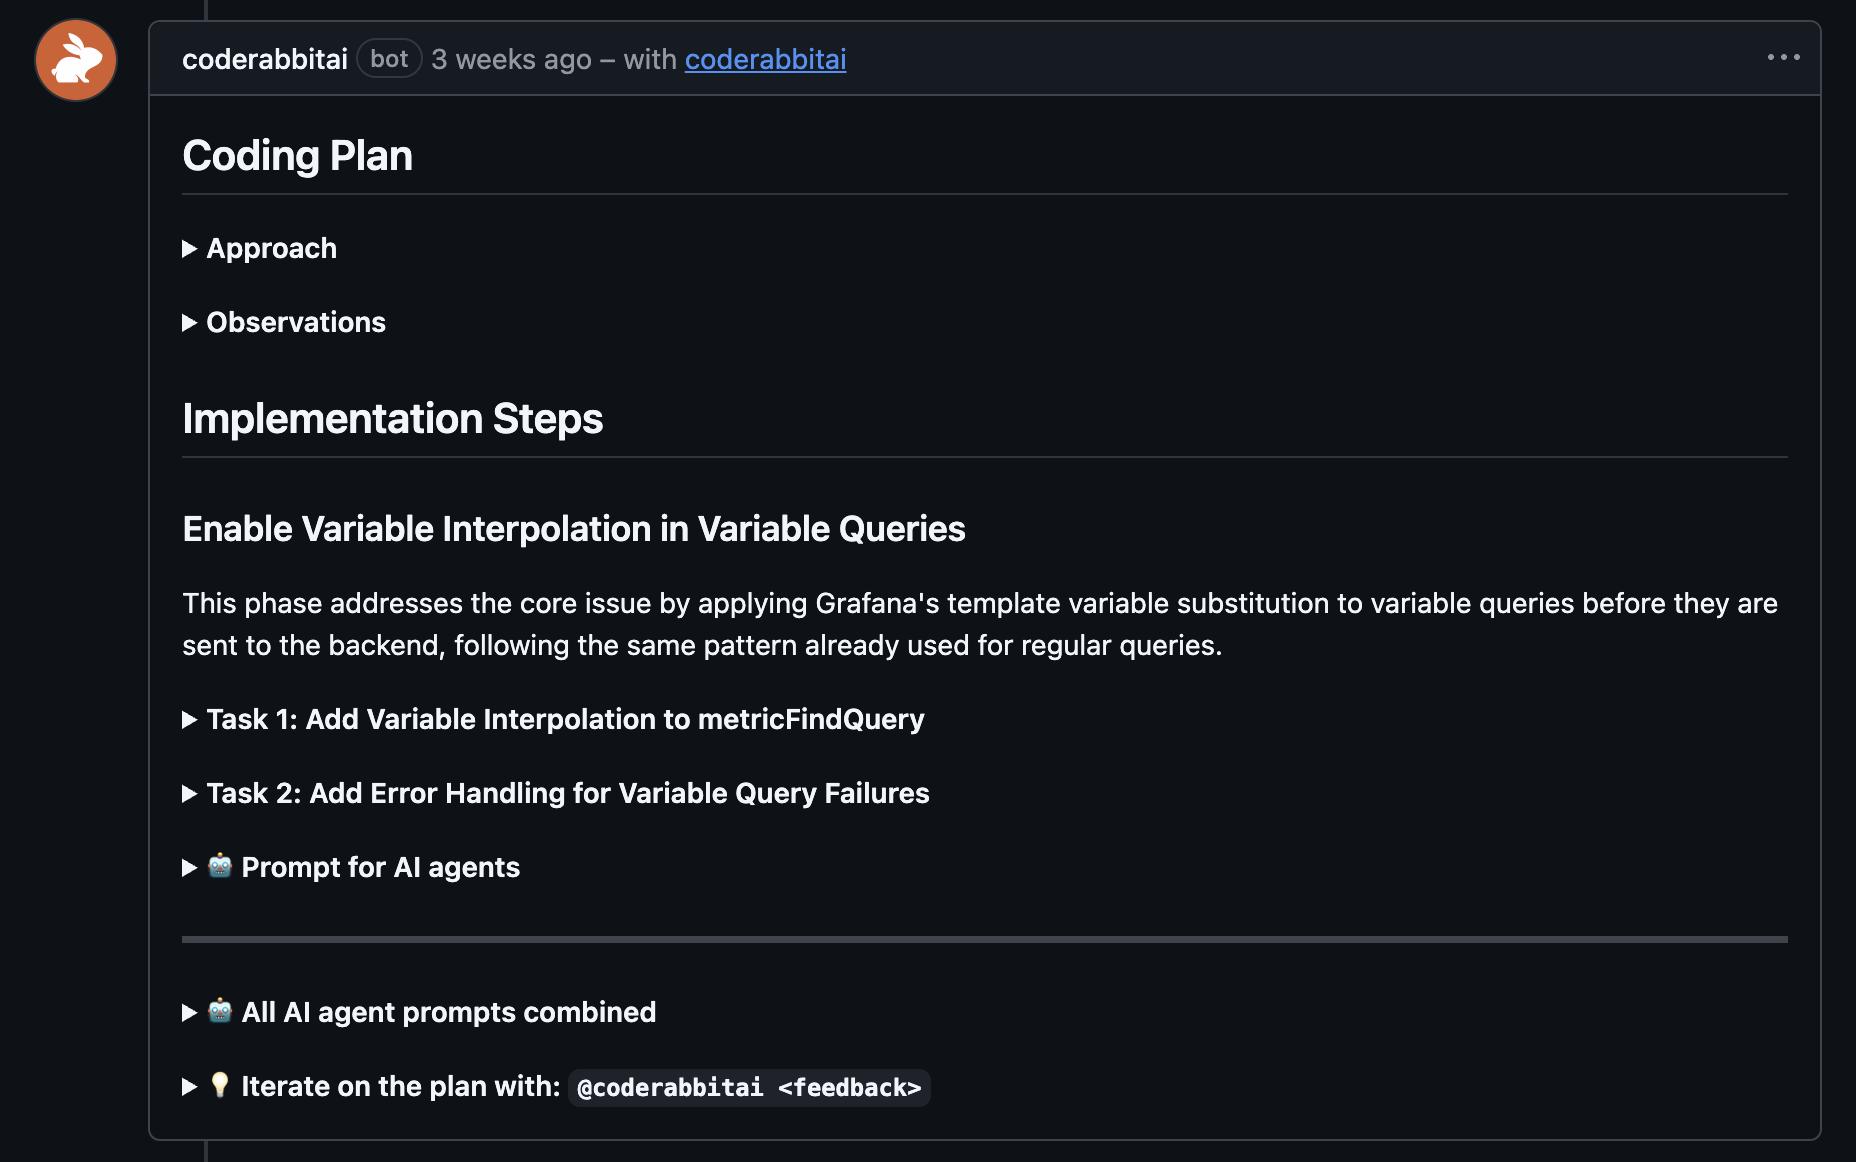
Copy the agentic prompts from the Coding Plan comment on the issue, and paste them into your preferred coding agent (Claude Code, Cursor, GitHub Copilot, etc.).Alternatively, if your coding agent can access GitHub directly (for example, through the GitHub MCP), you can simply ask it to fetch the issue by its number and execute CodeRabbit's plan.