
Getting Started
Install
CodeAlta is distributed as a .NET global tool. The package id is CodeAlta; the installed command is alta.
CodeAlta is currently distributed as preview 0.x releases before the final 1.0. Expect behavior, configuration shape, screenshots, and extension APIs to evolve between preview versions; review release notes before upgrading a workflow you depend on.
Install .NET 10 first, then install/update CodeAlta:
dotnet tool install -g CodeAlta
Alternatively, use dnx to install, update, and run in a single command:
dnx --yes CodeAlta
Then launch the terminal UI:
alta
CodeAlta stores user state under ~/.alta/, including configuration, logs, cached provider state, session journals, agent prompts under ~/.alta/prompts/agents, plugins, and skills.
Terminal font requirement
CodeAlta uses Nerd Fonts icons throughout the terminal UI. Install a current Nerd Font-patched font and select it in your terminal profile before using CodeAlta. Without a font that includes the required Nerd Font glyphs, icons may appear as empty boxes, question marks, or misaligned symbols.
Use the latest Nerd Fonts release when possible. Nerd Fonts v3.0.0 changed many icon code points, so older v2-era patched fonts can still render CodeAlta incorrectly even when the font name includes NF or Nerd Font.
Recommended setup:
- Download a recent font from the official Nerd Fonts downloads page.
- Remove older copies of the same Nerd Font before installing the new one, especially if you have had the font installed for years. Duplicate old and new font files can cause the terminal or OS font cache to keep using the outdated glyph set.
- Choose the updated Nerd Font family in your terminal profile, such as
CaskaydiaCove Nerd Font. If a similarly named family such asCaskaydiaCove NFstill shows broken tree-view icons, check for stale older copies and reinstall the current font. - Restart the terminal window and
altaafter changing or reinstalling fonts.
See Troubleshooting: glyphs or tree icons look wrong if icons still do not display correctly.
First launch
On first launch, CodeAlta creates a starter ~/.alta/config.toml with common provider entries disabled. If no provider is enabled yet, the app opens the Model Providers dialog automatically.
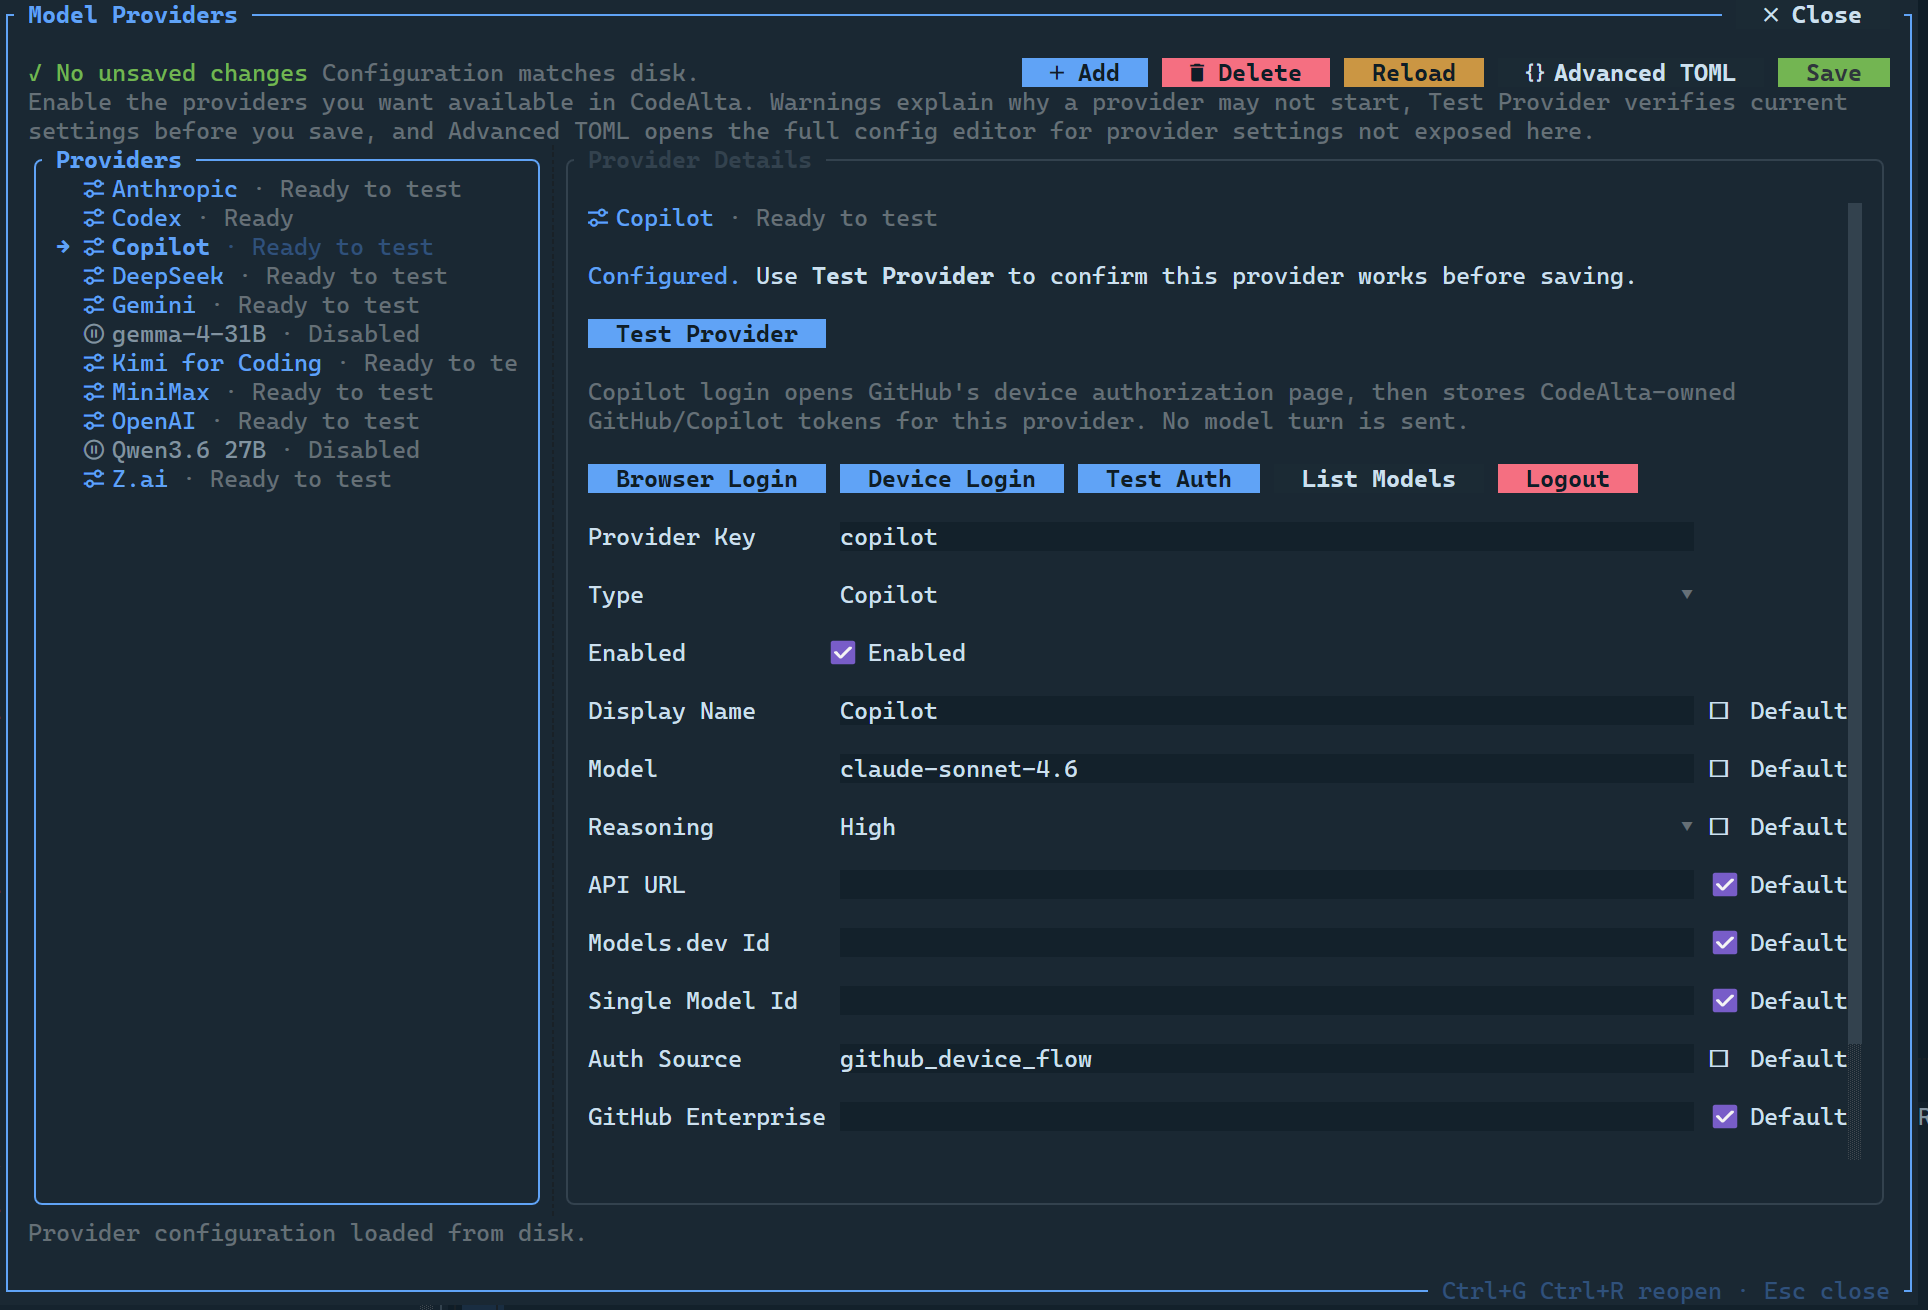
Use the dialog to:
- Select a provider entry on the left.
- Choose or confirm the model and reasoning effort.
- Add credentials through an API-key environment variable, direct API key, or provider login flow.
- Click Test Provider to validate credentials and model discovery.
- Confirm the provider shows as enabled. Successful tests and subscription login flows enable it automatically.
- Click Save to write
~/.alta/config.tomland refresh the runtime.
You can reopen this dialog any time with Ctrl+G Ctrl+R or from the provider summary in the footer.
Configure one provider quickly
The most common first setup is a subscription-backed provider: Copilot for GitHub Copilot subscriptions, or Codex for ChatGPT/Codex subscriptions. In the Model Providers dialog, keep or choose a model, start the browser/device login flow, then click Save after login completes. Successful browser/device login enables that provider automatically; a successful Test Provider does the same for any provider type.
Codex and Copilot credentials are stored in CodeAlta-owned state through their login flows. They are intentionally separate from OpenAI platform API keys.
If you use an API-key provider instead, set the provider's environment variable and enable that provider in the dialog or TOML. For OpenAI platform access:
Environment variables keep API keys out of ~/.alta/config.toml and project files. Set the variable in the same shell or profile that launches alta, then restart alta so the running process can see the new value.
# macOS/Linux
export CODEALTA_OPENAI_API_KEY="..."

# PowerShell
$env:CODEALTA_OPENAI_API_KEY = "..."
In ~/.alta/config.toml:
[chat]
default_provider = "openai"

[providers.openai]
enabled = true
display_name = "OpenAI"
type = "openai-responses"
model = "gpt-5.5"
reasoning_effort = "high"
api_key_env = "CODEALTA_OPENAI_API_KEY"
api_url = "https://api.openai.com/v1"
The in-app dialog edits the same file and preserves advanced TOML values.
Other API-key providers use the same pattern with their own environment variables, such as CODEALTA_ALIBABA_API_KEY, CODEALTA_AZURE_OPENAI_API_KEY, CODEALTA_ANTHROPIC_API_KEY, CODEALTA_DEEPSEEK_API_KEY, or CODEALTA_ZAI_API_KEY. For Azure OpenAI, choose type = "azure-openai", set api_url to the resource endpoint, and use the deployment name as the model.
Send a first prompt
- Open a project with
Ctrl+O,/open, or the+button in the Projects sidebar row. - Select the Agent: profile and provider/model/reasoning combination in the footer if needed. The built-in Default agent prompt is a good starting point.
- Type a prompt in the prompt editor.
- Press
Enterto send. UseShift+Enterfor a new line. - Watch the timeline for reasoning/status messages, assistant messages, tool calls, tool results, statistics, and modified-file summaries.
Agent prompts are selectable session profiles. Open the prompt manager with Ctrl+G Ctrl+H or /prompt to inspect Default, Plan mode, or your own global/project prompts. See Agent Prompts for the file layout, override rules, and custom workflow guidance.
Use Plan when you want CodeAlta to research and write a reviewable .alta/plans/ file before implementation. Use Default when the task is already scoped enough to inspect, edit, verify, and report directly.
Useful first prompts:
Summarize this repository and identify the main build/test commands.
Inspect the failing test output below and propose the smallest safe fix.
Add files to a prompt
Type @ in the prompt editor to open the project file/folder picker. Accepted entries are inserted as Markdown links such as [Program.cs](src/CodeAlta/Program.cs) and are sent as structured attachments. Raw @path, quoted paths, and optional :line or :start-end suffixes are also recognized at send time.
In GitHub repositories, type # to search recent issues. The picker accepts numbers or words, matches words case-insensitively, and inserts Markdown issue links such as [#18](https://github.com/org/repo/issues/18).
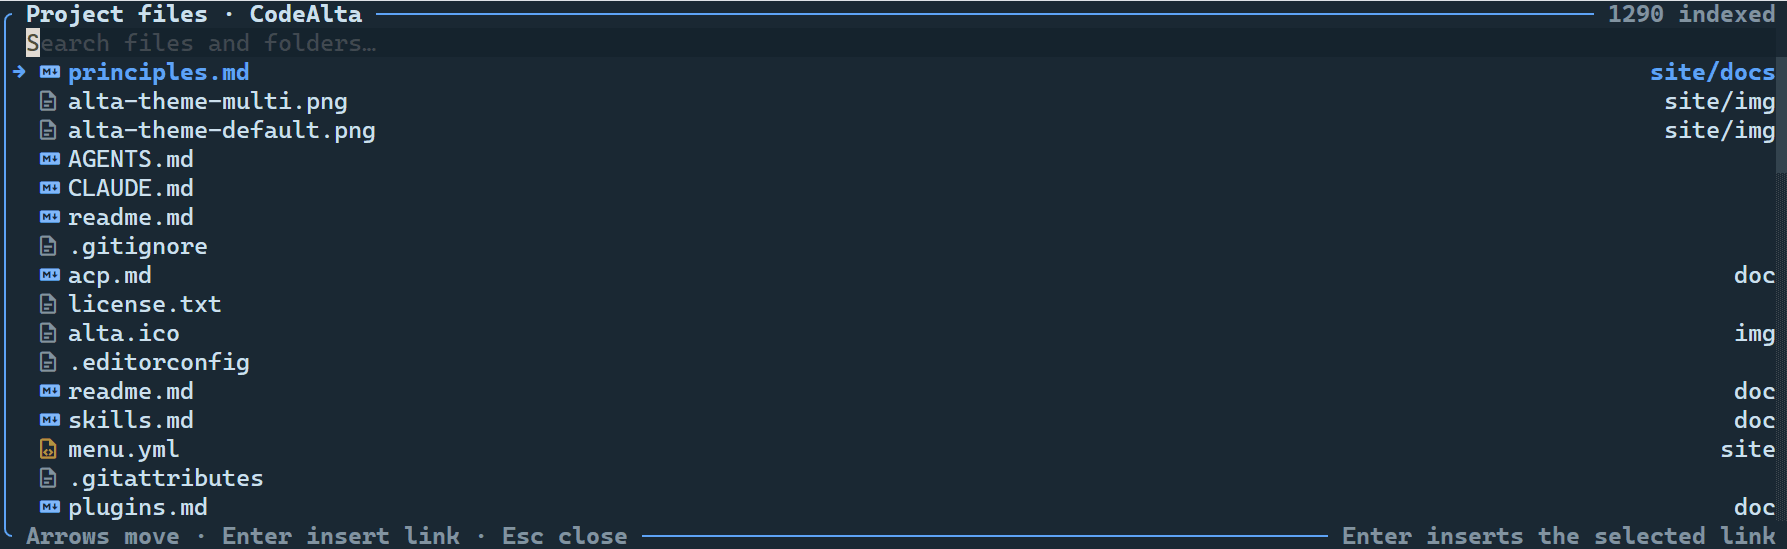
@, search for files or folders, and accept entries to add them to the prompt as structured attachments.Add images to a prompt
When the selected model supports image input, copy an image to the clipboard and press Ctrl+V in the prompt editor. CodeAlta opens a preview/title dialog so you can confirm the image before it is attached, then stores the image beside the session journal.
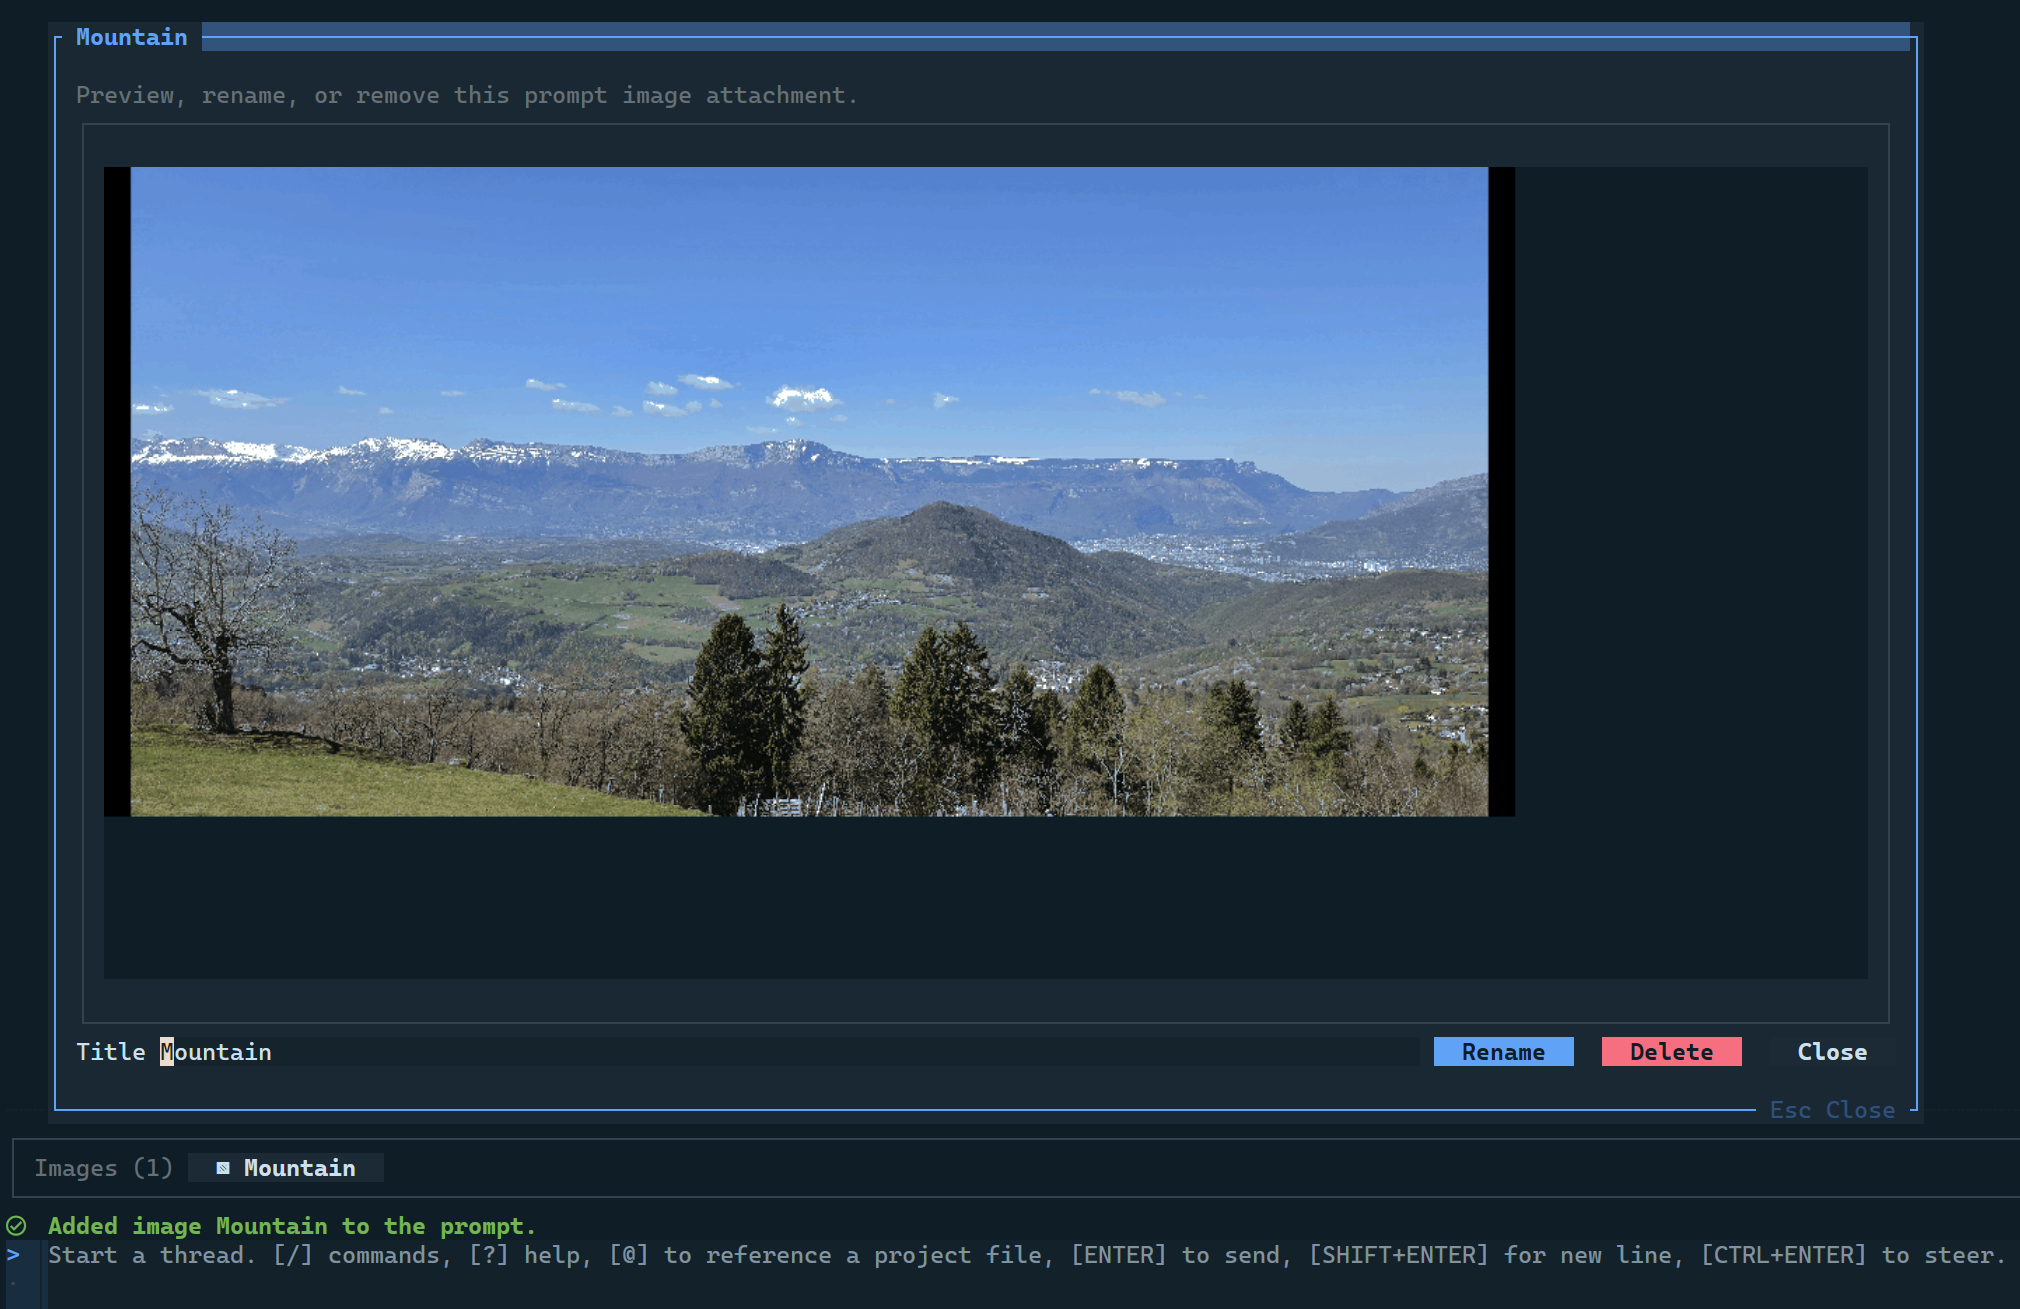
Image preview requires a terminal with inline image protocol support. Use a terminal that supports Sixel, such as Windows Terminal, or the Kitty/iTerm2 image protocols. Without that support, pasted-image previews may not render correctly even when the selected model can accept images.
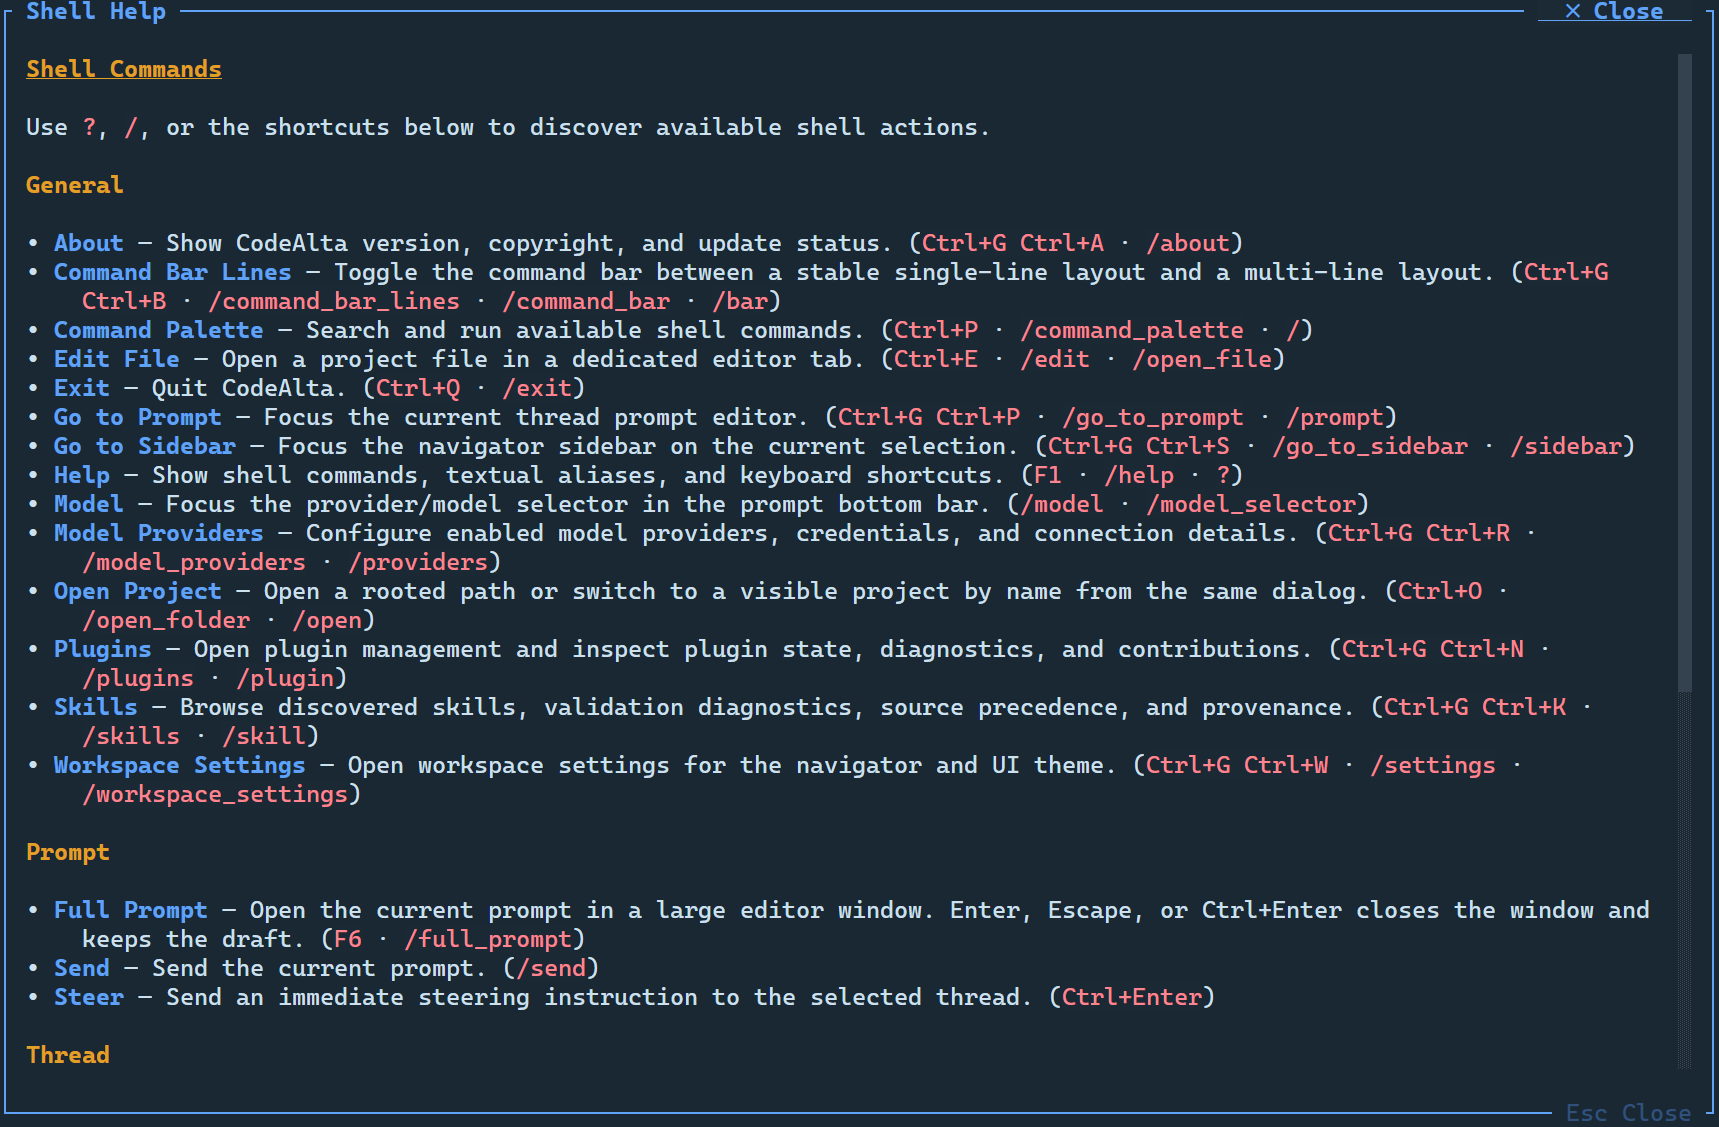
Essential shortcuts
F1, /help, or ? whenever you need a reminder of workspace, provider, session, and dialog shortcuts.If these shortcuts do not work in Windows Terminal, see Troubleshooting: Windows Terminal shortcuts do not reach CodeAlta.